🔧 DIY Stripped Screw Removal: A Step-by-step Guide
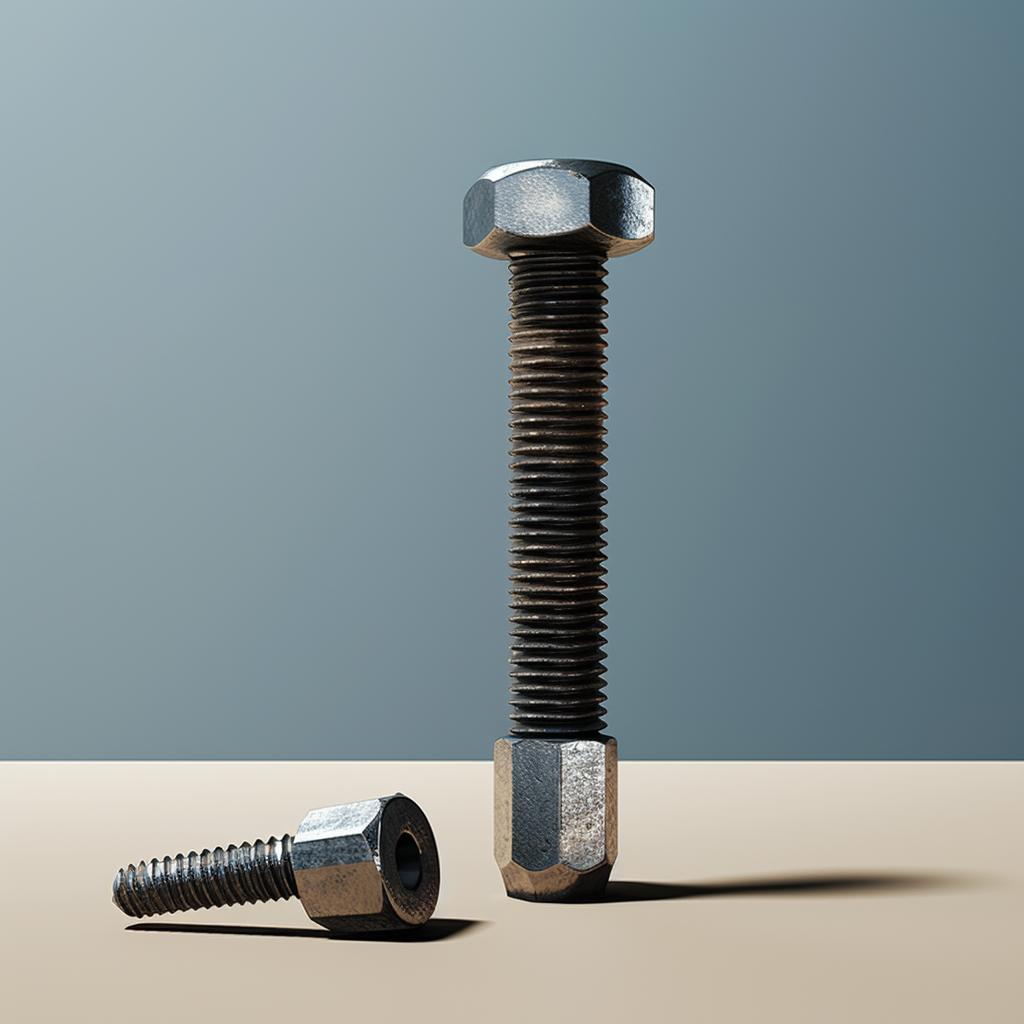
Removing stripped screws can be a frustrating task, but with the right tools and techniques, it can be made much easier. In this step-by-step guide, we will walk you through the process of removing stripped screws from your DIY projects.
Step 1: Choose the Right Tool
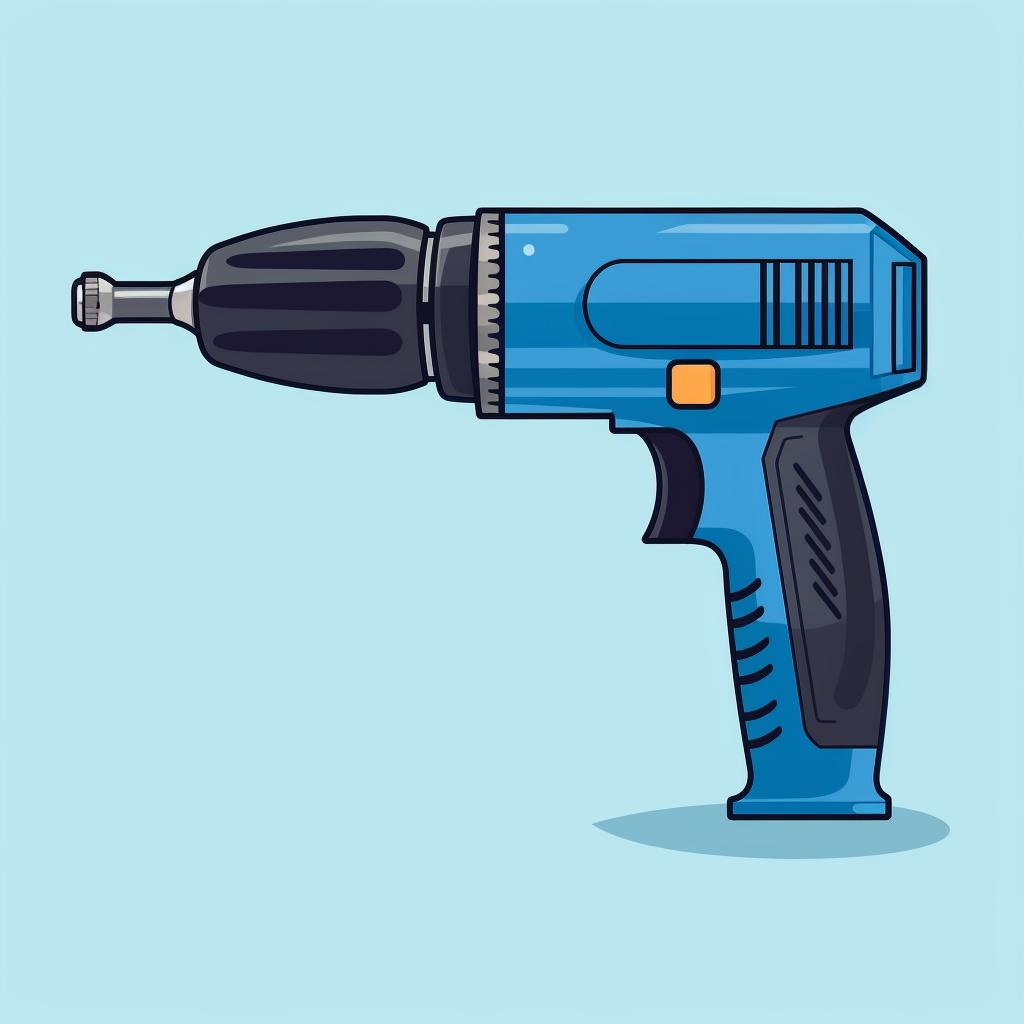
If a manual screwdriver isn't working, consider using a power drill with a screw extractor bit. These bits are designed to grip onto stripped screws, making them easier to remove. The power drill provides the necessary torque to loosen the screw.
Step 2: Apply Pressure and Slowly Drill
Place the extractor bit in your drill and set it to reverse. Apply firm pressure and slowly start to drill. The extractor bit should grip onto the stripped screw and begin to turn it out. Be careful not to apply too much pressure, as it can cause the bit to slip and potentially damage the surface.
Step 3: Remove the Screw
Once the screw has been loosened enough, you should be able to remove it either by continuing to use the drill or by using a pair of pliers. If using pliers, grip the screw firmly and turn it counterclockwise until it comes out completely.
Step 4: Clean the Area
After the stripped screw has been removed, clean the area to remove any debris. This will ensure that a new screw can be inserted cleanly. Use a brush or cloth to remove any dirt or residue.
By following these steps, you can successfully remove stripped screws and continue with your DIY projects without any hassle. Remember to use the right tools and take your time to avoid any further damage. Happy DIYing!
At One Power Tool, we provide comprehensive guides and resources to help you make the most of your power tools. Whether you're a beginner or an experienced DIYer, we've got you covered. Explore our website for more tips, safety guidelines, maintenance advice, and project ideas. Unleash the full potential of your tools with One Power Tool.


